How to get a case started

How to Get a Case Started

  • Patient Selection
  • Create Patient Files
  • Case Analisys
  • Review the set up plan created
  • Modifications
  • Case Approval

Patient Selection

Evaluate the cases you want to treat with Clear Aligner system and start with simple cases you can manage:

Mild to moderate
crowding ( less than 6
mm). 

Mild to moderate
spaces cases.

Class I malocclusion.

Aesthetics cases( smile
line, isolate, tooth
correction, midlines
correction).

Case Selection

Mild to moderate crowding ( less than 6 mm).

Case Selection

Mild to moderate spaces cases.

Case Selection

Class I malocclusion.

Create Patient Files

RECORDS AND FILES

Panoramic Xray

It is very important to see the parallelism of the roots, the presence of supernumerary teeth, the presence of etained/impacted teeth, mixed dentition, third molars, some dental pathology, among
others.

RECORDS AND FILES

Impressions,or scans of the patient in occlusion for a correct bite setting of the case and impressions or scans of the arches separately to verify correct anatomy of the teeth and arch form.

RECORDS AND FILES

Patient Photos

Intraoral photographs required

Upper and lower occlusal views ( if possible, with occlusal contact points).

RECORDS AND FILES

Patient Photos

Intraoral photographs required

Right and left vestibular view

RECORDS AND FILES

Intraoral photographs required

Anterior while the teeth are in natural occlusion.

RECORDS AND FILES

Extraoral photographs

Profile to view lip position and profile of the patient before the treatment plan.

RECORDS AND FILES

Extraoral photographs

Rest To evaluate facial mid-thirds, mandibular deviations or any facial asymmetry

RECORDS AND FILES

Extraoral photographs

Smiling To improve or maintain the smile line and midline.

Case Analisys

PRESCRIPTIONS AND SPECIALS INSTRUCTIONS

Complete the prescription form and provide precise goals and detailed instructions for your treatment plan that meets your patient’s clinical needs in the best possible way


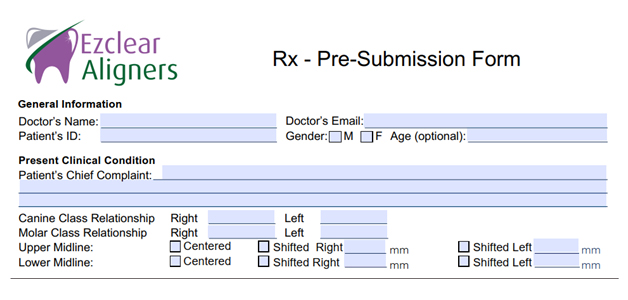
General Information:

It is important that you use an email address for case communication and transferring records. Please use an email address that is accessible by your staff or consider making a new email address just for cases.

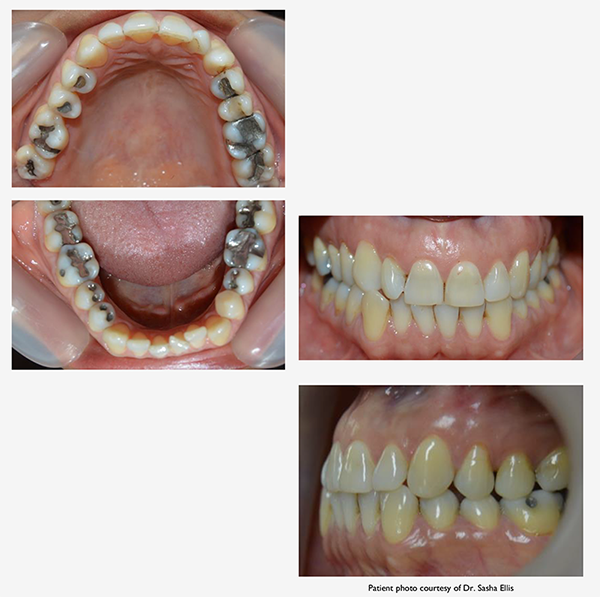
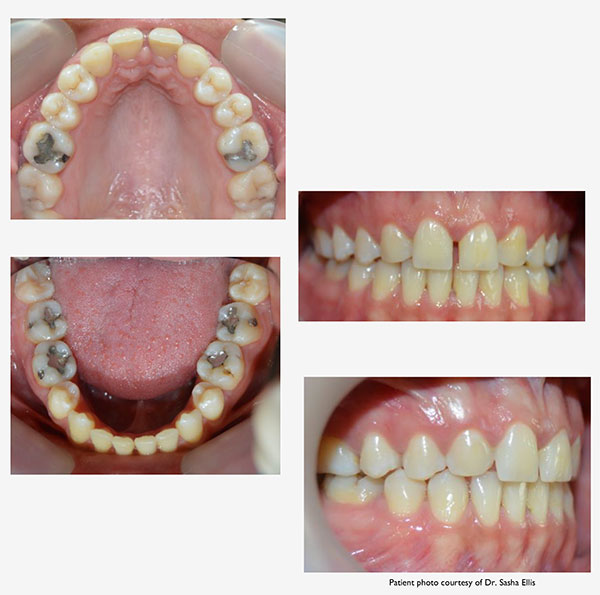
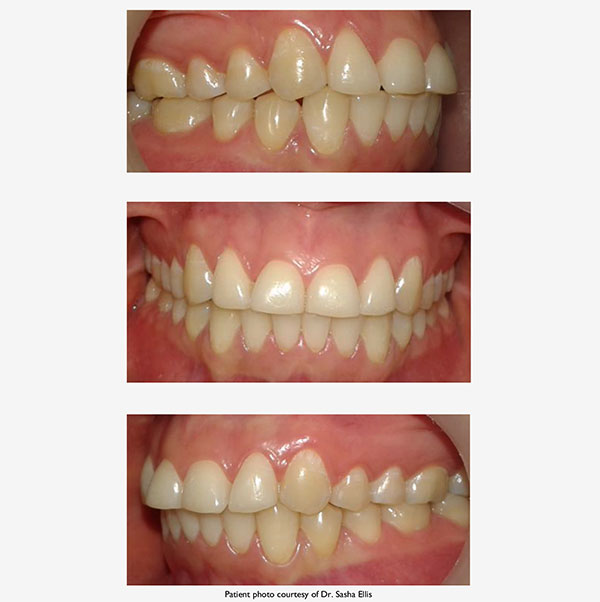
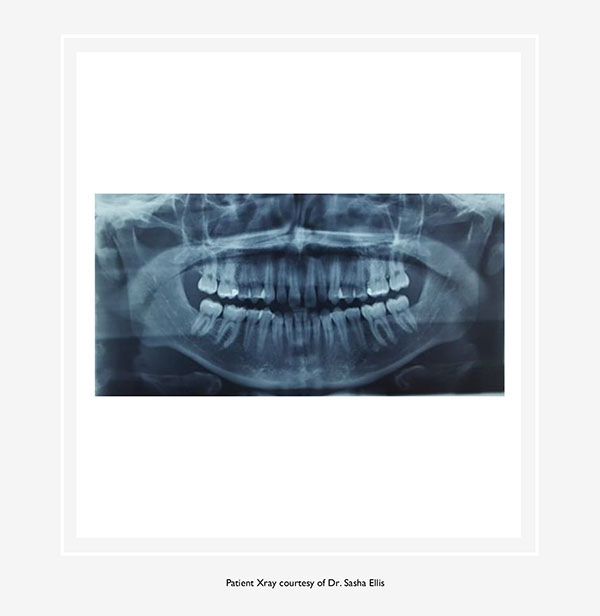
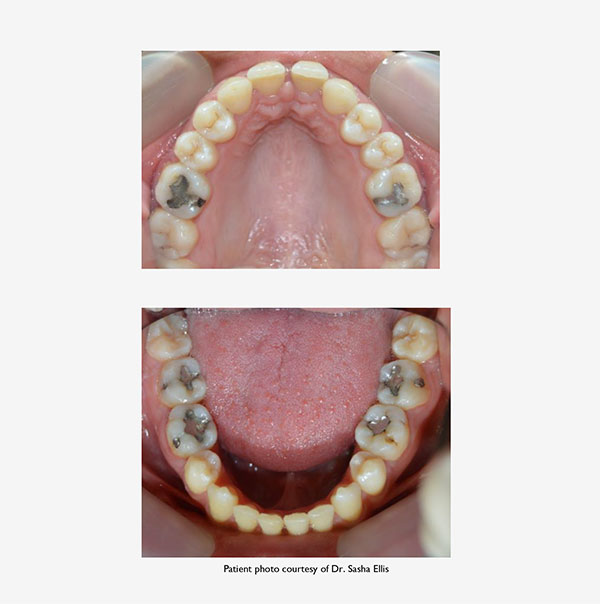
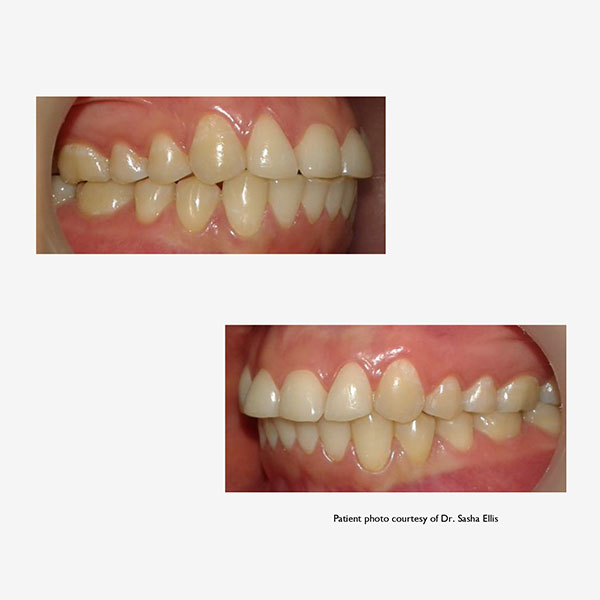
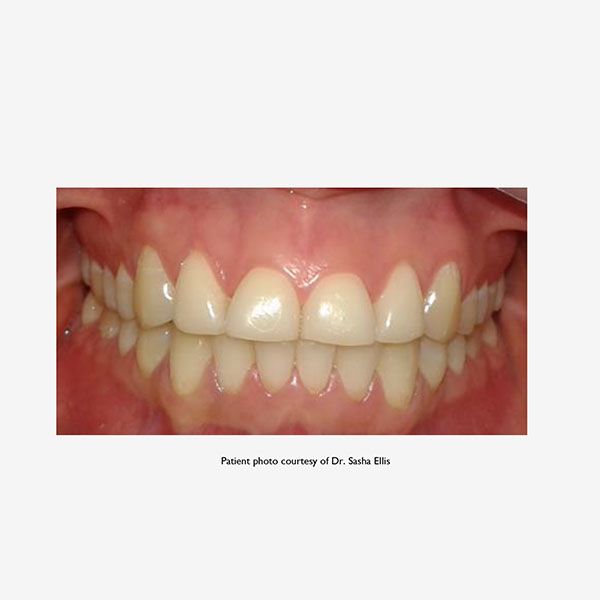
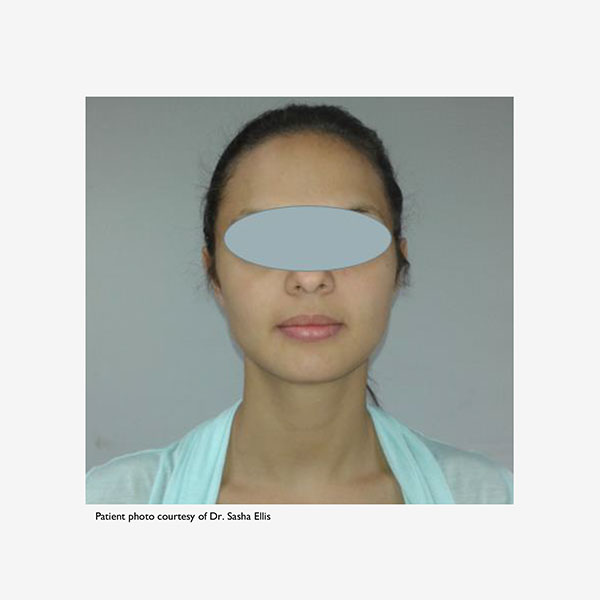
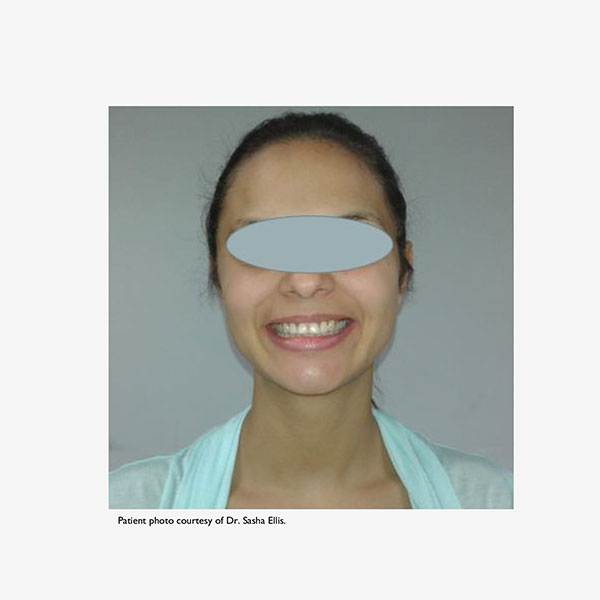
Present Clinical Condition:

This area is used to describe the starting point or patient’s current condition.

Type a brief description of the patient’s complaint in the text area such as “close spaces” or “reduce crowding” etcetera.

Canine and Molar class relationship would indicate if the patient tooth position is in class I, II, or class III. Upper and lower midline would indicate how the midline is position before starting treatment.

Instructions:

Select which arch(s)is to be adjusted. Identify how adjustments are to be made in the seven fields: overbite, overjet, canines, molars, and posteriors. Default instructions are highlighted in dark blue. If left blank the default will be used.
The following five fields help assure patient and doctors goals.

  • IPR which is short for Interproximal Reduction which is the filing of the interproximal surface to narrow the tooth and allow greater movement. An interproximal reduction chart will be issued for the Doctor regarding the patient that you will receive via email.
  • Engagers are attachments or anchors that arebonded to the teeth that assist movement.
  • Procline refers to moving the incisal edge of the anterior teeth facially. The whole tooth can move or the crown can be tipped facially.
  • Expand refers to moving the posterior teeth buccally to create more space.
  • Distalize refers the movement of the teeth away from the midline.

Digital Scans or PVS impressions of maxillary and mandible with bite registration are required to start a case as well.

We should know the patient’s dental history (or a panoramic scan) so we can predict the

movement of the natural and restored teeth. We must know the tooth(s) location of fixed bridgework and implant and plan accordingly.

There are Eight different anglesof photographs that need to be sent along with the case. These photos help us plan the case and document the starting point of treatment. Examples of these photographs are listed above under Records and Files \ Patient Photos.

Identify which teeth are not to be moved, where to avoid engagers, which teeth are to be extracted

prior to treatment(if any), and which spaces are to be maintained (if any).

It is very important you use Adobe Reader to fill out the Pre-Submission Form. You can download the free Adobe Reader HERE.